

ASA Getting Started
Designing and Building Your Database
Tutorial: Design and build a simple database
In this lesson, you connect to the database file you created.
For more information, see How the pieces fit together.
Once your database is created, you can connect to it in order to create tables and other database objects.
To connect to your database
Start Sybase Central.
Choose Tools
Specify the user ID and password.
On the first tab of the Connect dialog (the Identification tab), enter a user ID of DBA and a password of SQL. These are the values created for new databases, and so grant access to your new database.
Choose None in the profile options at the bottom of the tab.
Specify your database file.
Click the Database tab. Enter the full path of your database file in the Database File field. For example, if you followed the suggestion in the previous lesson, you should enter the following:
c:\temp\mysample.db
Connect to the database.
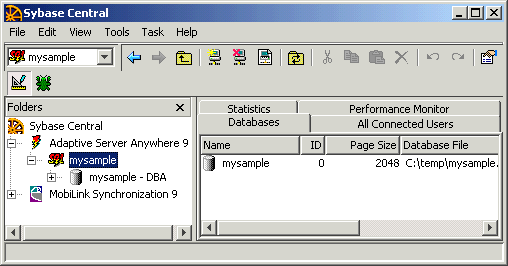
Click OK. Sybase Central connects to the database.
Open the database server container in the left pane to see the mysample database.


